ADA Compliance
If you are a business owner or are starting a business today, you are likely to be aware of ADA regulations and standards for accessible design. In this article we will explain how to install ADA exit signs, and additional information on signage and what is necessary for ADA compliance. The Americans with Disabilities Act or ADA is a federal law that requires all public accommodations to make design changes that as of the latest revision are known as the 2010 standards for accessible design. ADA compliance for these accessible design standards is mandated by the Department of Justice for businesses (public accommodations) and state and local government services.
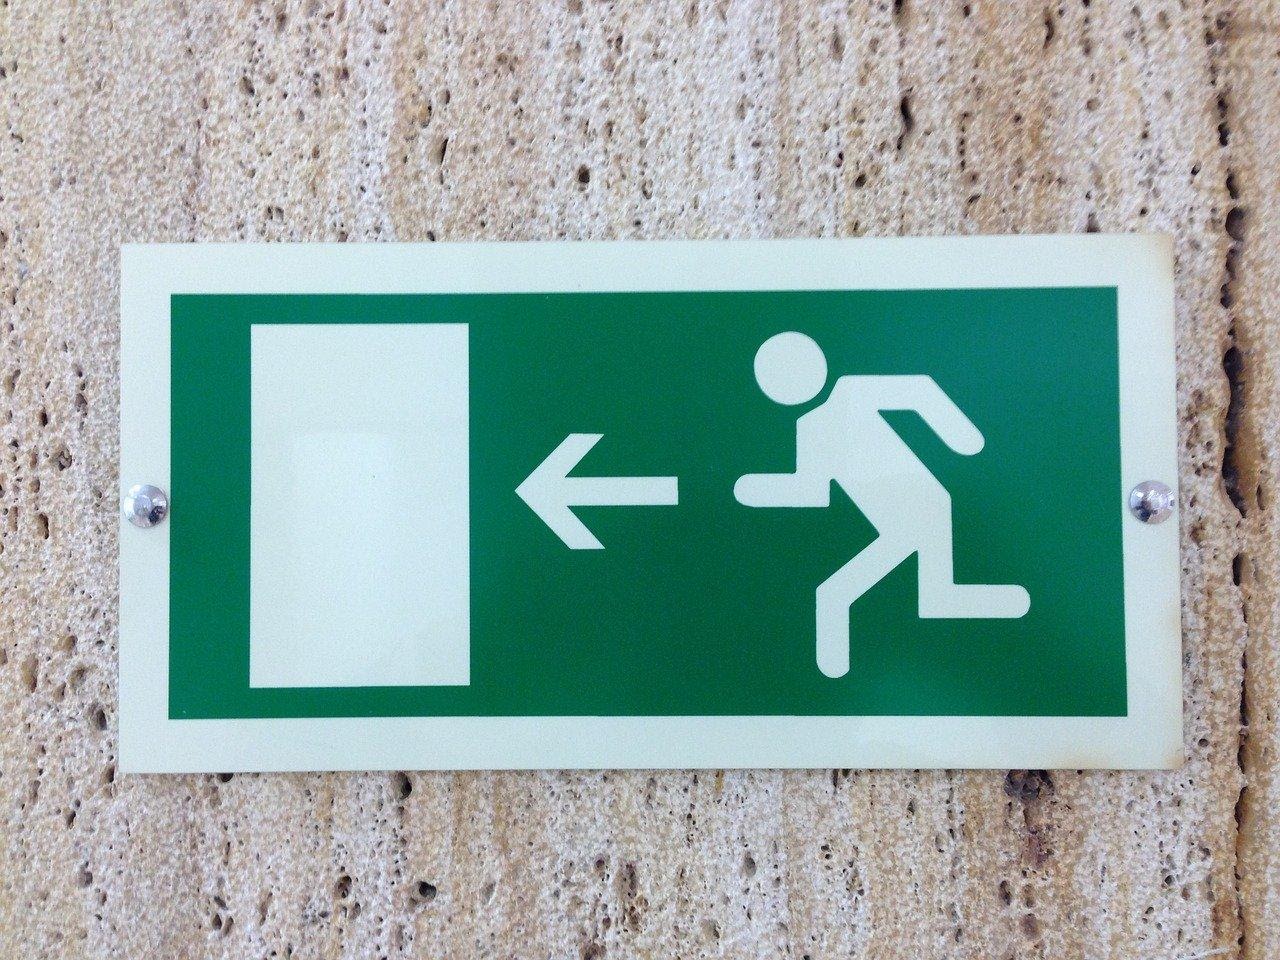
Where ADA Exit Signage Is Required
When going over these design requirements, sometimes the language and context is difficult to understand. This is where it is advantageous to hire a sign maker who specializes in ADA compliance. Generally, there are ADA signs required in any space within a building of public accommodation that is permanent, also described as any room or area that has a function which is not likely to change, such as a closet. Concerning exit signs, if the area is related to safety such as stairwells, exits / fire exits and elevators, door signs and directional signs to get to these doors or areas, if necessary, are required to meet ADA compliance.
How To Know If Your Sign Is ADA Compliant
There are basically 3 types of conveying information through signs: visual, tactile, and Braille.
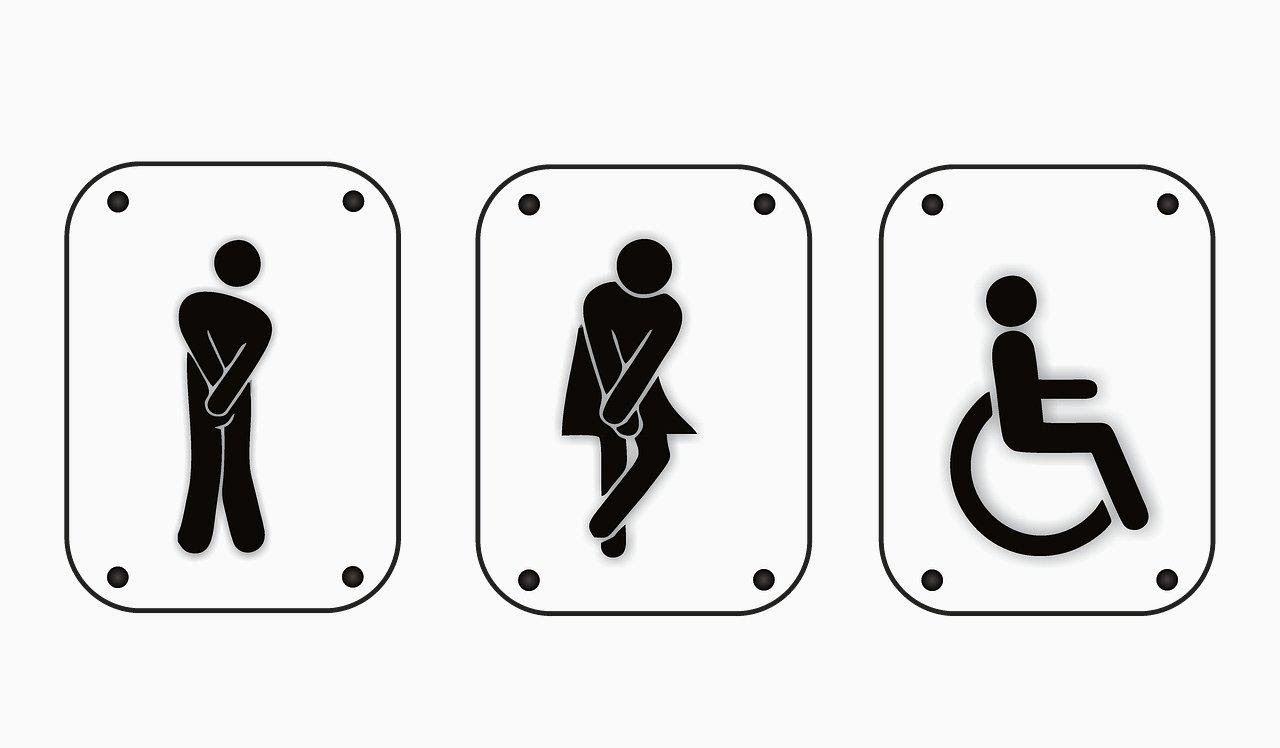
In order to meet ADA design standards and thus inclusive to everyone, doing this in each way is necessary. Most businesses have regular existing visual signs, which means tactile signs (raised lettering) with grade 2 Braille dots underneath need to be added. Pictograms are recommended for interior rooms for quick identification that will also overcome language barriers, such as for restrooms, and can be used in place of textile signs.
ADA Sign Specifics
Since we're really just talking about exit signs in this post, we will only focus on these ADA sign details. If you currently have regular exit signs, then you just need to add a simple exit sign like the one at the beginning of this article. It should follow tactile sign regulations as far as high contrast between background and lettering, sans serif font and all capital letters, and character height details. Grade number 2 Braille dots should be underneath the tactile lettering.
ADA Exit Sign Mounting
Where To Mount ADA Exit Door Sign
To do any kind of ADA sign mounting or sign installation, you need to follow strict ADA guidelines, including measurements. You can follow the following steps, in general terms:
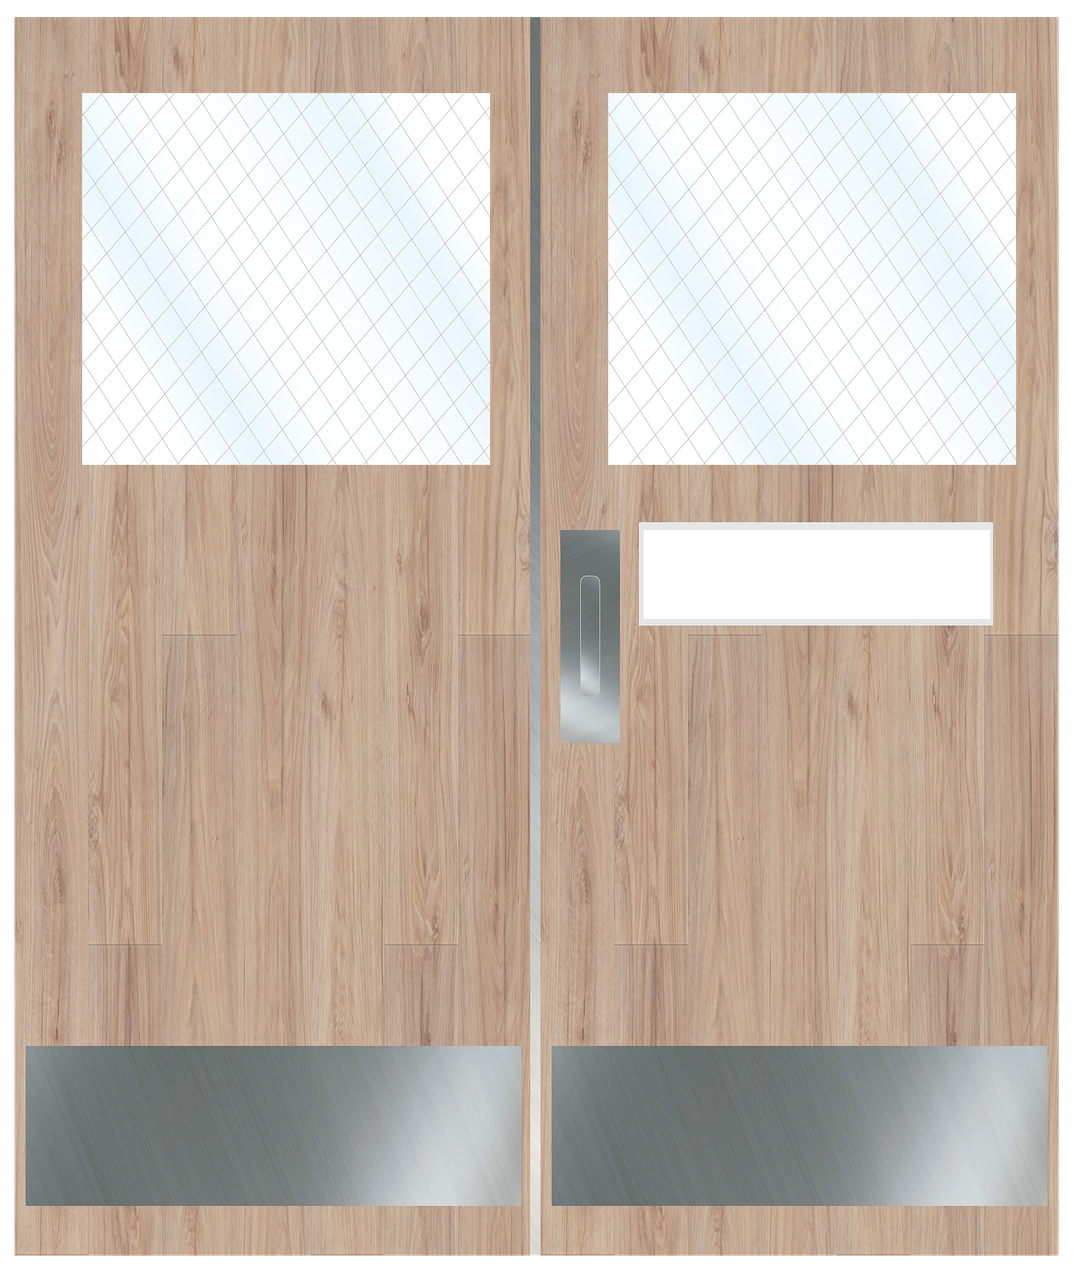
- For a single outward opening exit door: the sign shall be located on the wall on the latch side of the door, and there must be at least 18" X 18" square inches of clear floor space* if the door swings outward, so that the ADA sign mounting is outside the arc of the swing (18" inches away from the door and 18" inches away from the wall).
- For double doors where both sides are active: the sign shall be located to the right of the right hand door.
- For only one active leaf: the sign shall be located on the inactive leaf door.
- And for an inward opening door (although rarely an exit door, but this can be used as a general rule of thumb): this is an example where the sign can be mounted on the door, but only if certain other criteria are met (see our .pdf downloadable ADA sign installation guidelines for these details).
*If there is not enough room on any wall on the latch side of the door, it can be mounted on the nearest adjacent wall.
ADA Exit Sign Height Measurements
ADA sign mounting height measurements are another important factor when installing signs such as these. Starting from the baseline of the lowest tactile character, your sign should measure from 48" inches at its lowest point, to 60" inches at its highest point from the finish floor or ground surface. As a good rule and valuable tip, we suggest hanging all your signs at 54" inches from the finish floor or ground surface to the center of your sign.
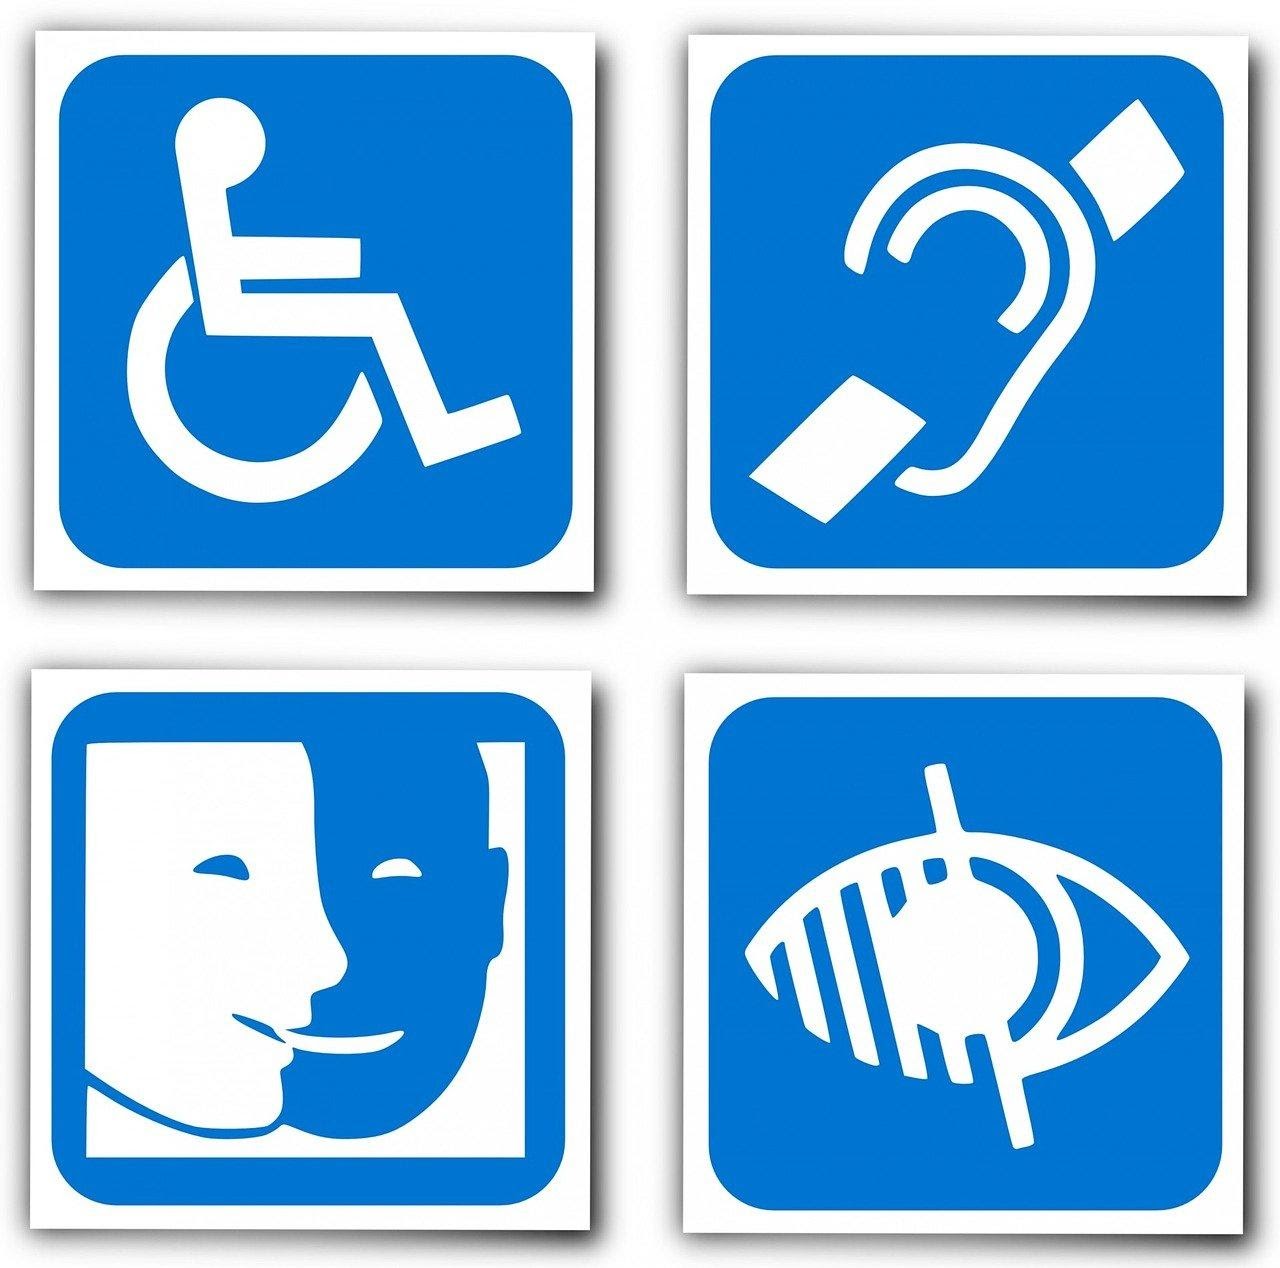
The ISA
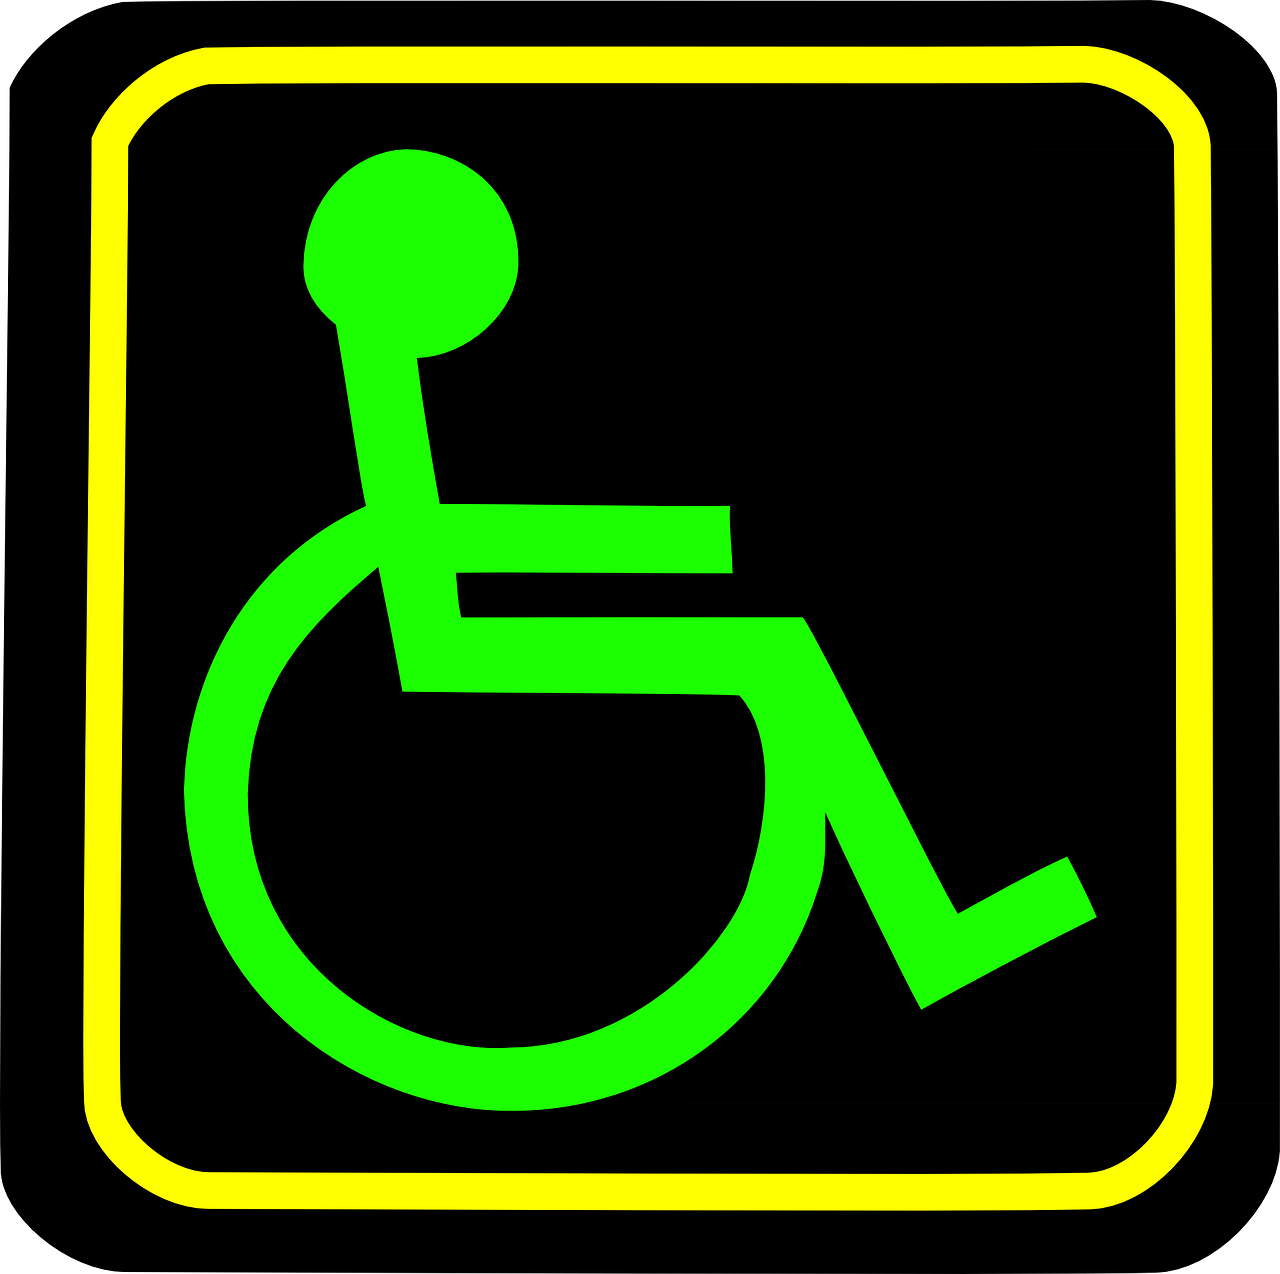
The International Symbol of Accessibility or ISA is depicted above, and this basic pictogram is used to inform people with disabilities that an area is accessible, and is required for restrooms, elevators, exits, and any area with accessibility features, for ADA compliance to be met. Unless you have other sections of your business that are specifically designed with accessibility features, there are just 4 places this symbol would need to be:
- Accessible parking spaces
- Accessible restrooms
- Accessible loading zones
- Accessible entrances to a building if the main entrance is not accessible
ADA Central Signage
When obtaining your ADA compliant signs, using an experienced sign company that specializes in ADA signage such as ADA Central makes the job so much easier, because you don't have to worry about the signs being ADA compliant. They can assist you in what signs your business needs and where to place them, whenever necessary. They do custom and expedited work as well, and are reasonably priced to boot. With a decade of experience in ADA compliant signs, you can trust that they know these guidelines inside and out.
Standards for Accessible Design
The Americans with Disabilities Act was revised more recently and now includes the 2010 ADA standards for accessible design. The idea behind these mandates is to create a world that is equally accessible to everyone, so that people with disabilities are afforded the same opportunities as everyone else. This includes a uniform design in all public accommodations that can be safely relied upon, so that those with disabilities limiting one or more of their senses can find their way around, like anyone else. If you are looking to learn more about ADA and compliance check out our article on what ADA counter height is required today!